So, my birthday is right around the corner, and it is time to celebrate!
And another excuse to make a cake! If you know me, I have become obsessed with cake making, so what a prefect opportunity to try out something new.
So far I have been making large cakes, layered and decorated. However, I have been really intrigued by small individual cakes called cakelets. Amy Eilert of
Cupcake Envy has been my inspiration, she is absolutely amazing with her designs, so I am going to give it a go.
I have decided on doing individual gift bags (shopping bags) in pink. The cake will be cut into rectangles of 3" x 2" and will end up being 4" high once layered filled and covered in icing. Then will be decorated with fondant to resemble a gift/shopping bag, with a monogrammed "L" (for me-Linda), a tag saying "Happy Birthday", and finally finished off with fondant tissue paper -- how cute does this sound.
I am so excited I can't wait to get started.
Here is a mock-up of what I plan to do.
So, lets get started.
First I will need to cut the cake board into 3x4" for each cake
Cover them in black fondant
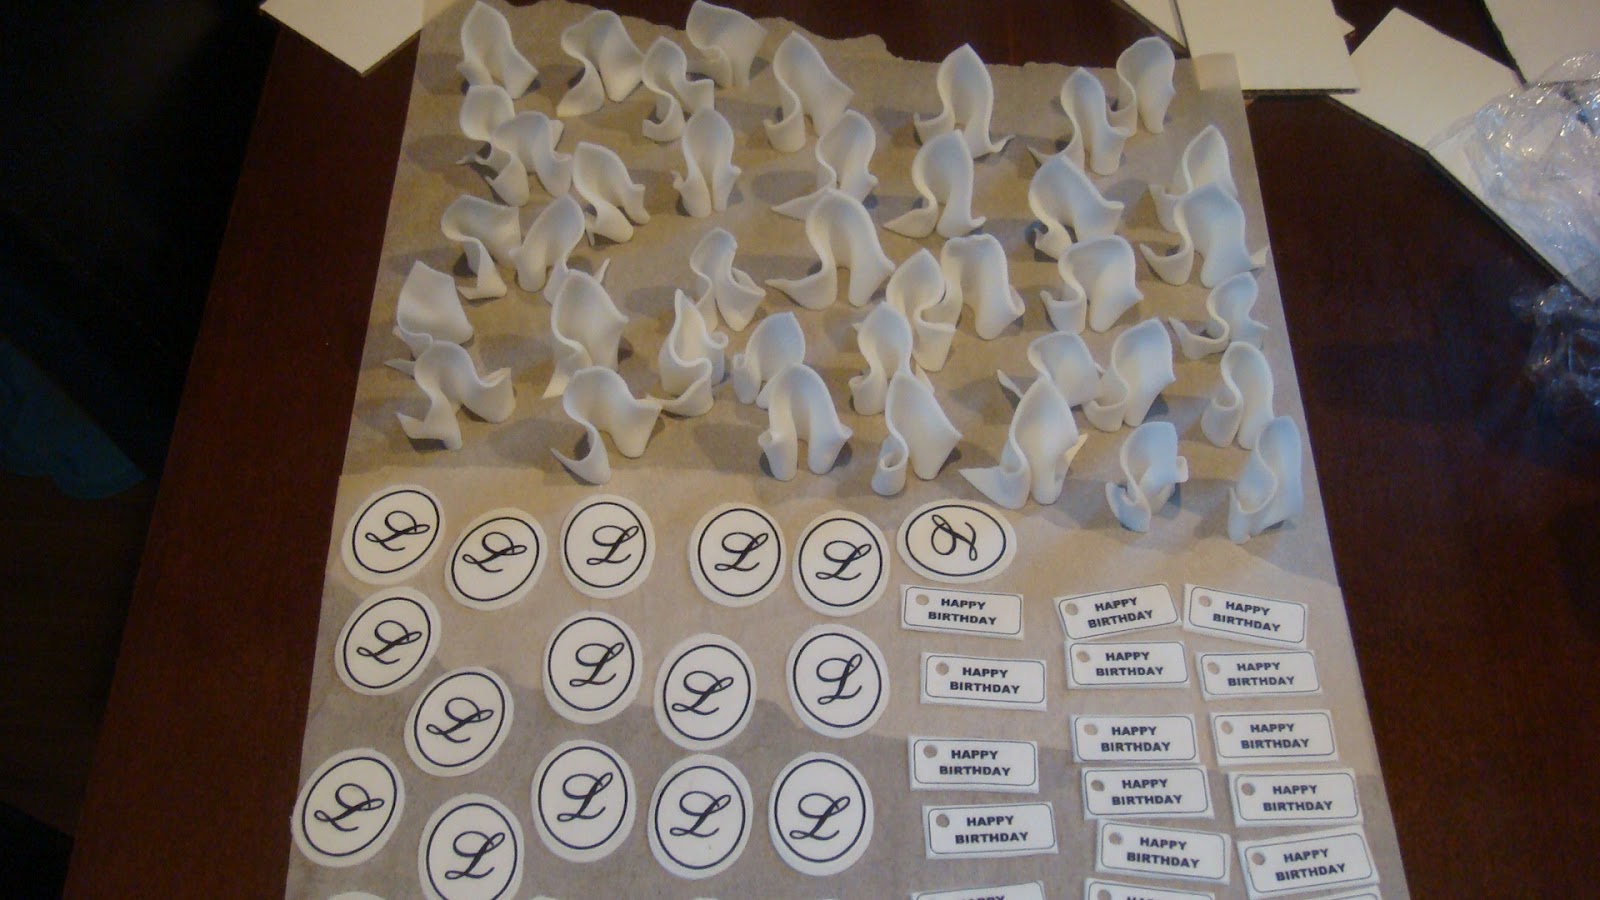
Next make the "Happy Birthday" tags. I had edible images printed on rice page for the tags and monogram, them put them on white fondant. Cut them all out and left to dry.
Next I made the fondant into "Tissue Paper" for the gift bags, and set them aside to dry as well.
 |
| Add caption |
Next, cut the cake into rectangles in the size of 3x1.5".
After torting each mini cake, they were filled with strawberries and iced in a cream cheese icing.
Make my pink fondant.
Cut the pink fondant into strips of 4x10" to cover each cake.
Make hole for the handle and attach the "Happy Birthday" tag.
Make strips from in black fondant and place in the middle of the bag and attach the monogram.
Make a small rope with white fondant and place in the holes for the handle.
Fill a piping bag with the cream cheese icing and pipe in a bit more on the top and put in the fondant "Tissue Paper".
Put a small amount of icing to act as glue on the bottom of the cake and place on the black fondant covered cake board.
Then do it all over another 21 times!!
And Enjoy!!!
Now that's Creative!