Search This Blog

Showing posts with label Tutorials. Show all posts

Monday, 15 April 2013

How To Remove Print From Plastic Containers

If you are like me, you have joined pinterest and have become quit addicted.  I have a ton of pins with great ideas to do, but have not done any and not sure if they even work.............so, I have given myself a challenge and I must start trying them out or no more pinning!!!

I thought I would try to see if you can really remove the print from a plastic container.  I have been making my own Coconut Ice Cream and instead of using the popsicle trays I thought I would re-use these nice little single serving containers.


All you need is an old cloth and acetone (nail polish remover).  Soak the cloth with the acetone and cover the plastic container.  Let sit for a few minutes and then start rubbing...............


And what do you know.......it works!!  


Now I can fill them with my own home make ice cream or anything else.  These will be very useful as they do not leak either.

Now that is Creative!

Tuesday, 14 February 2012

Valentine's Day Chocolate Heart Box

Happy Valentine's Day!

I decided to make by sweetie and special little treat for Valentine's Day.  I left it in the fridge front and centre so when he got home he couldn't miss it.


It is a very cute chocolate box filled with cake, cream cheese frosting and whipped cream topped with a chocolate lid, all in the very appropriate heart shape.

Chocolate Heart Box

Started off with some modeling chocolate


Once rolled out I cut out two heart shapes - one for the base and one for the lid.


I then started with the base.  Next roll out a strip long enough to go around the heart (for the walls of the box) and cut it to the height you want. Do the same for the lid, just making the wall shorter.


To attach it to the base I melted some chocolate and painted it along with seam and then covered the whole inside.  Once cooled it is very strong and sturdy.


Cut your cake with the same heart cutter - trim it slightly so it will fit inside the chocolate box.


Tort the cake.


 Make your frosting.


Frost the cake and insert in the chocolate box.


Fill the top with more frosting or whipped cream and position the lid.


Sprinkle with shaved chocolate and presto!!
You have a delicious perfect Valentine's Day treat.


Now that's Creative!

Thursday, 2 February 2012

It's My Birthday!!!

So, my birthday is right around the corner, and it is time to celebrate!


And another excuse to make a cake!  If you know me, I have become obsessed with cake making, so what a prefect opportunity to try out something new.

So far I have been making large cakes, layered and decorated.  However, I have been really intrigued by small individual cakes called cakelets.  Amy Eilert of Cupcake Envy has been my inspiration, she is absolutely amazing with her designs, so I am going to give it a go.

I have decided on doing individual gift bags (shopping bags) in pink.  The cake will be cut into rectangles of 3" x 2" and will end up being 4" high once layered filled and covered in icing. Then will be decorated with fondant to resemble a gift/shopping bag, with a monogrammed "L" (for me-Linda), a tag saying "Happy Birthday", and finally finished off with fondant tissue paper -- how cute does this sound.

I am so excited I can't wait to get started.

Here is a mock-up of what I plan to do.
So, lets get started.

First I will need to cut the cake board into 3x4" for each cake


Cover them in black fondant


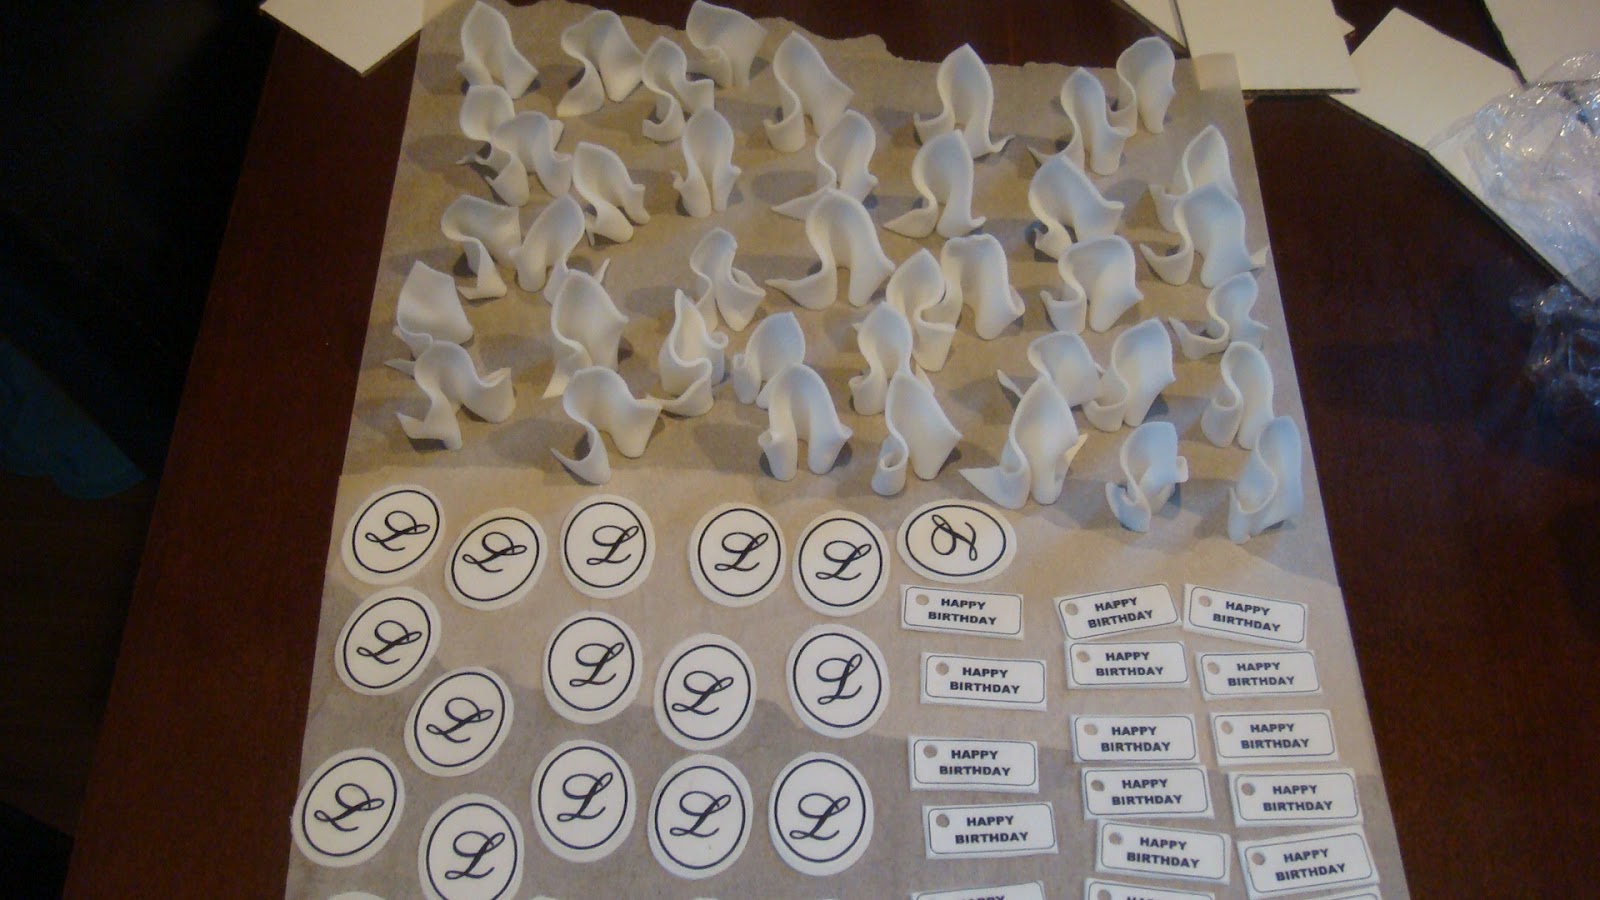
Next make the "Happy Birthday" tags.  I had edible images printed on rice page for the tags and monogram, them put them on white fondant. Cut them all out and left to dry.


Next I made the fondant into "Tissue Paper" for the gift bags, and set them aside to dry as well.


Add caption


Next, cut the cake into rectangles in the size of 3x1.5".


After torting each mini cake, they were filled with strawberries and iced in a cream cheese icing.


Make my pink fondant.


Cut the pink fondant into strips of 4x10" to cover each cake.


Make hole for the handle and attach the "Happy Birthday" tag.


Make strips from in black fondant and place in the middle of the bag and attach the monogram.
Make a small rope with white fondant and place in the holes for the handle.


Fill a piping bag with the cream cheese icing and pipe in a bit more on the top and put in the fondant "Tissue Paper".


Put a small amount of icing to act as glue on the bottom of the cake and place on the black fondant covered cake board.


Then do it all over another 21 times!!


And Enjoy!!!

Now that's Creative!