Search This Blog

Showing posts with label Sweets. Show all posts

Saturday, 8 February 2014

Blonde Macaroons


Looking for a great gluten free, diary free cookie?  Well look no further, these little morsels are crispy on the outside and melt in your mouth delicious on the inside.

In my quest to find a healthier cookie I have resorted to pinterest and found a number of cookie recipes I have pinned but never tried.  So, this year I vow to start trying them out and find out if there are a hit or miss.  This one is definitely a hit and a keeper.

I found this delightful recipe for something called Detox Blonde Macaroons from a great blog The Detoxinista. As it contains some of my all time favorite ingredients and is wheat free, I knew I had to give this a try.

It is a fast and easy recipe and they are truly delicious.

You will need
That's it. ( full recipe below)

Now let's get started.

If you are using bought coconut butter, you can simply put all the ingredients in a bowl.  However, if you are making your own coconut butter, you will need to make this first and then you can add the balance of the ingredients.
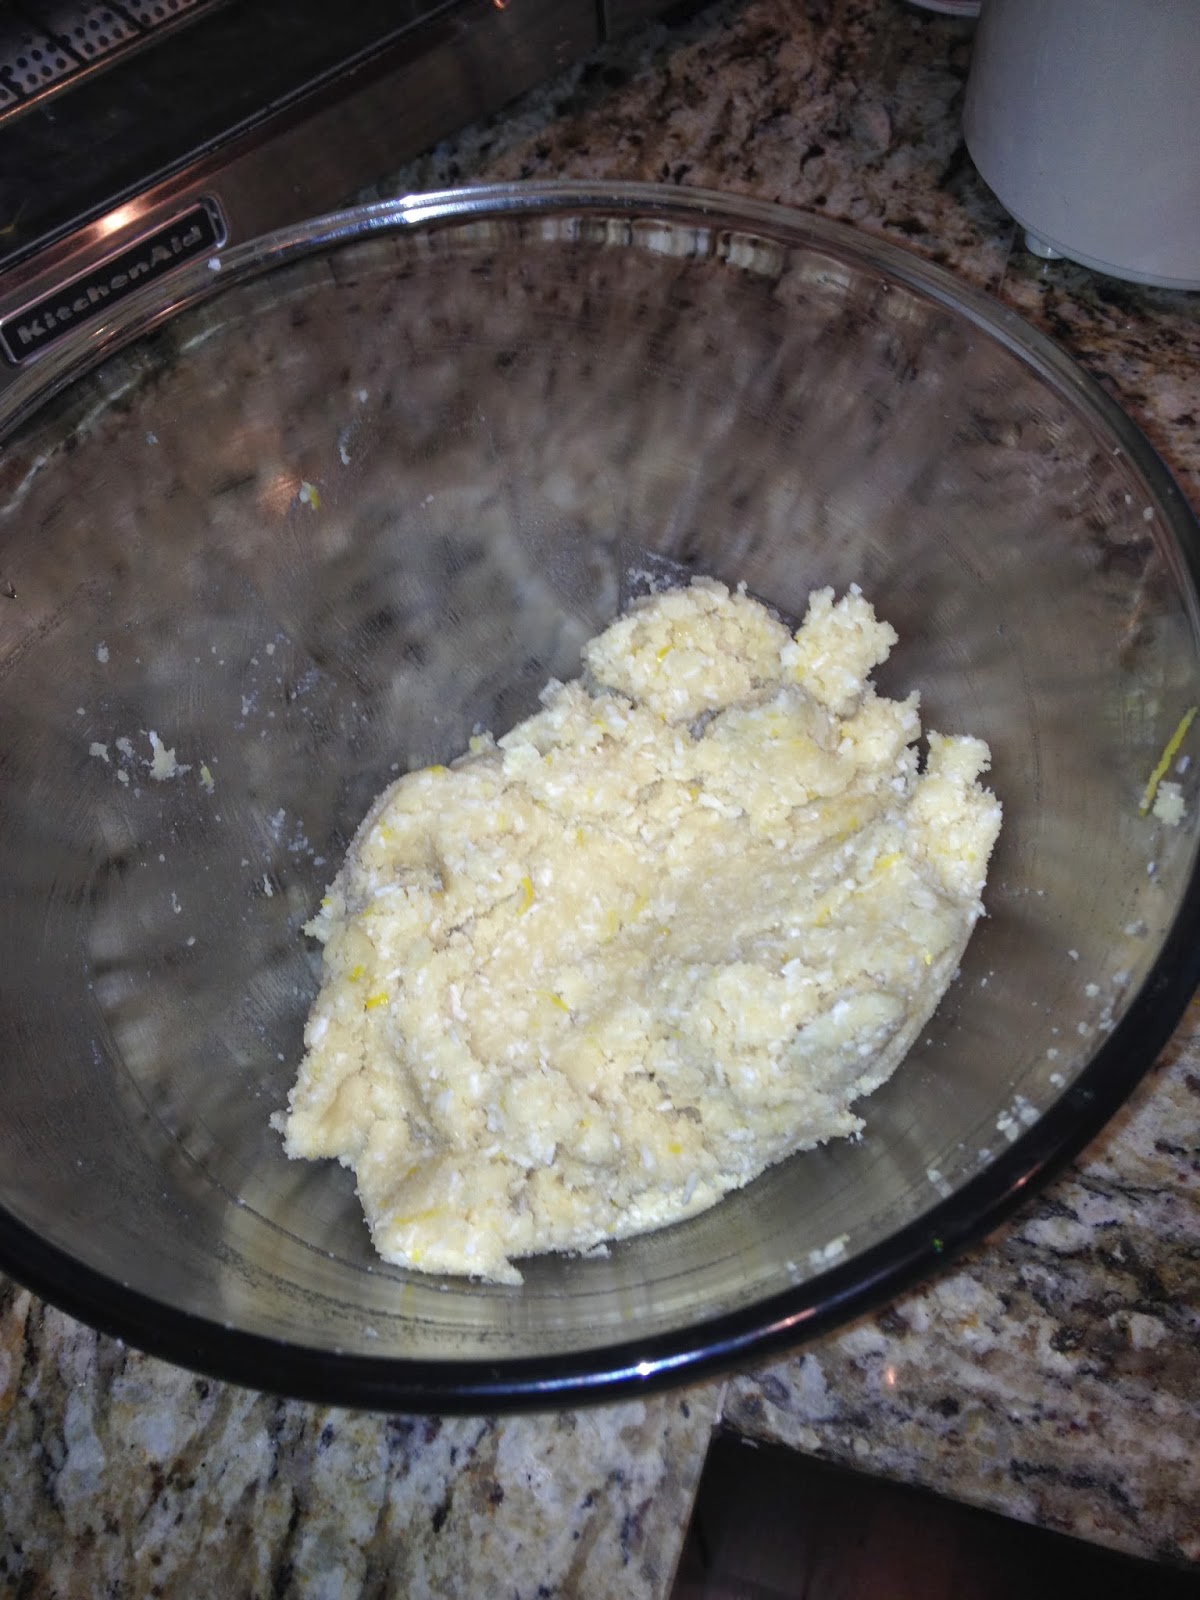

Mix well.  I used a hand held mixer and worked really good.  Make sure all ingredients are well incorporated.  Mixture will stick together.


Use a mini ice cream / cookie scoop to drop your macaroons onto parchment lined cookie sheet


Preheat your oven to 300F, and bake for 22-26 minutes.  


Remove from oven and let rest for another 25 minutes - trust me on this one, as they are very tender and will fall apart if you try to move them immediately.  Once rested your macaroons will be crisp on the outside, soft and buttery on the inside - very tender, delicious and addicting.


Full recipe from Detoxinista.com


Detox Blonde Macaroons
Author: 
Serves: 2 dozen
These buttery macaroons are naturally sweetened and a guaranteed crowd-pleaser!
Ingredients
  • 2⅔ cups shredded unsweetened coconut (or one cup coconut butter)
  • 2 (additional) cups shredded unsweetened coconut
  • ¾ cup pure maple syrup
  • 1¼ tsp. vanilla extract
  • ½ tsp. pure almond extract
  • ¼ tsp. fine sea salt
Instructions
  1. Begin by blending the 2⅔ cups of shredded unsweetened coconut in a food processor or blender, until you have a creamy coconut butter. (This takes a couple minutes in a blender, and up to 10 minutes in a food processor.) Be sure to scrape the sides a couple times, so that you have an even consistency. *If using store-bought coconut butter, move on to the next step.
  2. Add in the rest of the ingredients and mix well with a spatula. The batter should be sticky and uniform.
  3. Drop the batter by small rounded spoonfuls onto your dehydrator sheets. If you’re using the “oven method,” drop them onto a pan lined with a Silpat, or parchment paper.
  4. Oven method: Preheat your oven to 300F, and bake macaroons for 22-26 minutes, watching closely so that they don’t burn. Macaroons will be crisp on the outside, soft and buttery on the inside, and very tender. Remove from the oven and allow to rest for an additional 25 minutes, so that they firm up. Place the macaroons in the fridge or freezer to “set” further, or serve immediately! (I personally like them best served at room temperature.)
  5. Dehydrator Method: Dehydrate your macaroons at 145 degrees for the first hour, then reduce to 118 degrees (if you care to keep them raw) for up to 12 hours, periodically checking for crispness. They are ready when they are firm and crispy on the outside, but still tender on the inside. (If you’re impatient, dehydrate at 155F for 2-3 hours.)
  6. Store macaroons in an air-tight container for up to 5 days. For a longer shelf-life, store them in the freezer–> they’ll last a LONG time in there!
Notes
Drizzle some melted dark chocolate on top to make these extra-decadent!

Wednesday, 28 August 2013

Raspberry Almond Bars (Grain-free, Dairy-free)

This is one seriously addictive dessert.  I can not believe how good these are and there is no guilt factor with these, they are actually good for you. 


Wheat free and dairy free, made with almonds and coconut oil - all very healthy alternatives.


So glad I found this on Pinterest, original recipe from The Detoxinista

Raspberry Almond Bars (Grain-free, Dairy-free)

makes on 8"x8" pan
Ingredients:
Crust:
2 cups almond flour or almond meal
2 tablespoons Organic Extra Virgin Coconut Oil
1 tablespoon vanilla extract
1 tablespoon water
1/4 teaspoon sea salt
Filling:
10 oz. bag of frozen raspberries
1/2 cup pure maple syrup
1 teaspoon vanilla extract
Crumb Topping:
1 cup walnuts
1/2 cup unsweetened shredded coconut
2 tablespoons pure maple syrup
1 tablespoon coconut oil
1/4 teaspoon sea salt
1/4 teaspoon almond extract

Prepare the raspberry filling by heating the 1/2 cup maple syrup in a 1 1/2-quart saucepan over medium heat. Bring the maple syrup to a boil, then reduce the heat and allow to simmer for 5 minutes. Add the frozen raspberries and vanilla extract, and bring to a simmer again, allowing the mixture to cook for 15 minutes, until thick.

(Do not cook for longer than 15 minutes, or the pectin will break down and the sauce will not thicken properly.)


For the crust, preheat the oven to 350F and line an 8″ x 8″ baking dish with parchment paper, to prevent sticking. Combine all of the crust ingredients in a food processor, and process until the dough sticks together.


Press the dough into the bottom of the baking sheet, and bake for 12 minutes at 350F. Remove from the oven and allow to cool for 20 minutes.


Prepare the crumbly topping by combining the walnuts, coconut, maple syrup, coconut oil, sea salt and almond extract in a food processor, and process until sticky and crumbly, but still coarse in texture.


Spread the raspberry filling over the crust.  NOTE:  make sure both the raspberry filling and the crust are completely cooled


Then spread the crumbly topping over the raspberry layer.


Return to the oven for 15 minutes at 350F, or until the topping is lightly golden.


Allow to cool completely before cutting and serving. For best shelf life, store leftovers covered in the fridge for up to a week


You can gobble them up just as is, or try drizzling some chocolate over the top.


Or how about my famous coconut whip fruit dip for an extra special treat.


Now that's Creative!


Saturday, 17 August 2013

Apple Crisp - Individual Servings

If you are like us you like your apple crisp nice and warm when you eat it.  I find that the left overs from a big dish warmed up the next day tends to over cook the apples and can get pretty mushy.

So I came up with a way to make individual servings.

This is perfect for me and my husband.  It is fast and easy and baked fresh - can't get any better than this.

I have make a few changes to the traditional recipe, as you will note there is no sugar or butter in this one.

Apple Crisp - Individual Servings

1 granny smith apple
1 teaspoon each of xylitol, coconut palm sugar, cinnamon and virgin coconut oil
1/3 cup oats
3 tablespoons melted virgin coconut oil
1 tablespoon each of xylitol, coconut palm sugar and cinnamon


Peel, core and cut up one granny smith apple and place in a single serving over proof dish.


Mix together 1 teaspoon each of xylitol, coconut palm sugar and cinnamon.
Toss with the apples to evenly distribute, then drizzle with 1 teaspoon melted virgin coconut oil.


Mix together the rest of the ingredients, oats, xylitol, coconut palm sugar, cinnamon and virgin coconut oil.


Place crumble on top of apples.


Bake for 30 minutes in a 350 degree oven.  I like to use my toaster oven for such small servings.


 And for an extra special treat top with a scoop of ice cream.


Enjoy!

This is a fairly healthy treat, using virgin coconut oil in place of butter makes this dairy free and an all around better fat to use.

 Replacing the brown sugar with a mix between xylitol and coconut palm sugar also provides a better choice and they are both low on the glycemic index and a good option for dibetics.

Now that's Creative!

Sunday, 31 March 2013

Happy Easter!!!

Good Day Everyone,

As we had a month full of birthdays, we decided to celebrate them all together over Easter, and what better way to incorporate a Easter themed cake.

Had lots of fun making this one.


Happy Birthday, Sue, Jason, Tanja and Gord!!

Now that's Creative!

Saturday, 22 September 2012

Coconut Milk Ice Pops

My new love of coconut milk lead me to try these out.


Super easy and super good.

You will need:


  • 14oz can of coconut milk
  • 1 lime grated and juiced
  • 1/4 cup Xylatol
  • 1/4 cup shredded coconut
Puree all together,

 Pour in molds,


 Freeze for several hours until firm,


And Enjoy!!!!


This is the fastest treat and so good on a hot summer day.

Friday, 21 September 2012

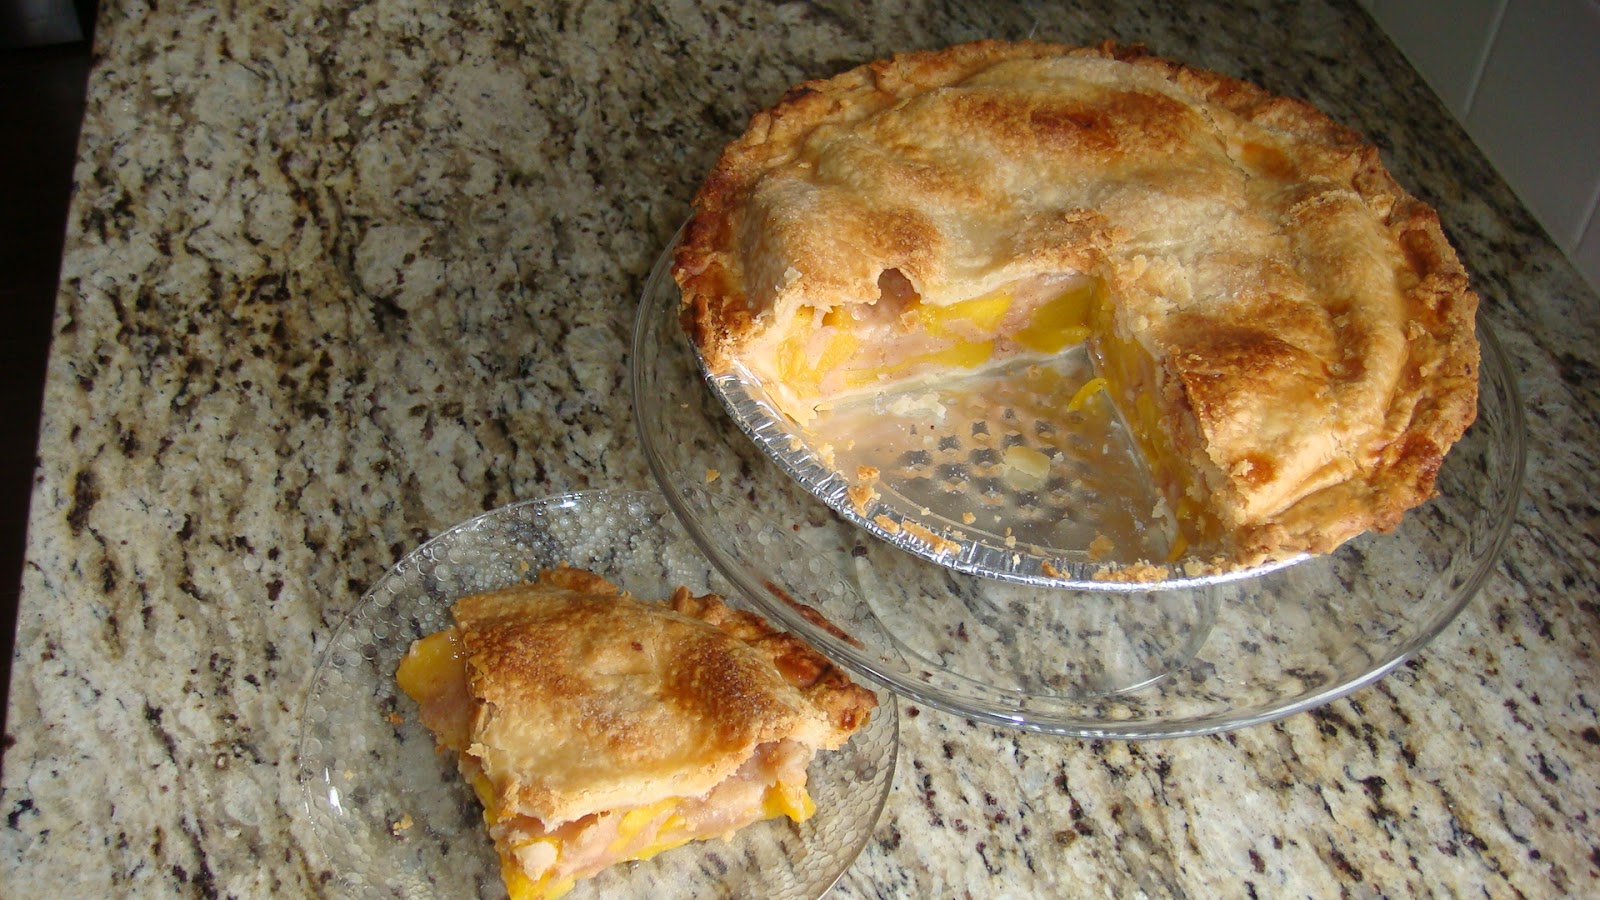
Peach Pie

Ever summer to go to Osoyoos and it is mandatory to stop in at the fruit vendors on the way home.  One of the things we always come home with is a box of good ole Okanagan peaches.

These are so yummy and there is always a big demand for peach pie.


This year I did not make the pie as soon as we got home, and one day I took a look at the box and was amazed that they were almost gone!

So, I thought I better get on it before they are all eaten up.


 Peel and slice up the peaches


Sprinkle lime (or lemon) juice over the peaches, and toss lightly.  Let sit for 5 minutes.

  • NOTE:  the lime/lemon juice is a necessary step to preserve the structure of the peaches and prevent them from browning.  Trust me you will not notice the lime or lemon flavour, but you will notice the texture of the peaches and be very pleased.
  • The lime jiuce blends much better with the peach flavor - but use what ever you prefer.


Then place the peaches in a colander to drain off all juices.

  • This is important step, otherwise you may have a very runny pie.


Lightly flour your bottom pie shell.


Mix up all the dry ingredients.


Gently toss the drained peaches with the dry mixture in another bowl.


Pour the peaches into the prepared pie shell.


Dot with butter.


Cover with top pie shell and cut vents in.


Brush with milk and sprinkle with sugar.


Bake at 325 for 50-60 minutes, until the crust is brown and the juice begins to bubble through the vents.


Let cool and ejoy!!


Here is the recipe that I used.


Peach Pie the Old Fashioned Two Crust Way


Ingredients

  • 1 (15 ounce) package pastry for a 9 inch double crust pie
  • 1 egg, beaten
  • 5 cups sliced peeled peaches
  • 2 tablespoons lemon juice
  • 1/2 cup all-purpose flour
  • 1 cup white sugar
  • 1/2 teaspoon ground cinnamon
  • 1/4 teaspoon ground nutmeg
  • 1/4 teaspoon salt
  • 2 tablespoons butter

Directions

  1. Preheat the oven to 450 degrees F (220 degrees C).
  2. Line the bottom and sides of a 9 inch pie plate with one of the pie crusts. Brush with some of the beaten egg to keep the dough from becoming soggy later.
  3. Place the sliced peaches in a large bowl, and sprinkle with lemon juice. Mix gently. In a separate bowl, mix together the flour, sugar, cinnamon, nutmeg and salt. Pour over the peaches, and mix gently. Pour into the pie crust, and dot with butter. Cover with the other pie crust, and fold the edges under. Flute the edges to seal or press the edges with the tines of a fork dipped in egg. Brush the remaining egg over the top crust. Cut several slits in the top crust to vent steam.
  4. Bake for 10 minutes in the preheated oven, then reduce the heat to 350 degrees F (175 degrees C) and bake for an additional 30 to 35 minutes, until the crust is brown and the juice begins to bubble through the vents. If the edges brown to fast, cover them with strips of aluminum foil about halfway through baking. Cool before serving. This tastes better warm than hot.

Now that's Creative!